Interior painting is one of the most effective ways to refresh your home, enhance visual appeal, and increase property value. However, achieving a smooth, durable, and professional finish requires more than choosing a color and applying paint. A successful interior painting project depends on structured preparation, correct materials, proper environmental conditions, and professional techniques at every stage.
At Carlos Suscal Painting LLC, we follow a proven interior painting process used by professional painters to deliver long-lasting, high-quality results. This guide explains each step of interior painting in detail, so homeowners understand what truly goes into a flawless finish.
Step-by-Step Interior Painting Process Used by Professionals
Step 1: Remove Furniture and Protect Surfaces
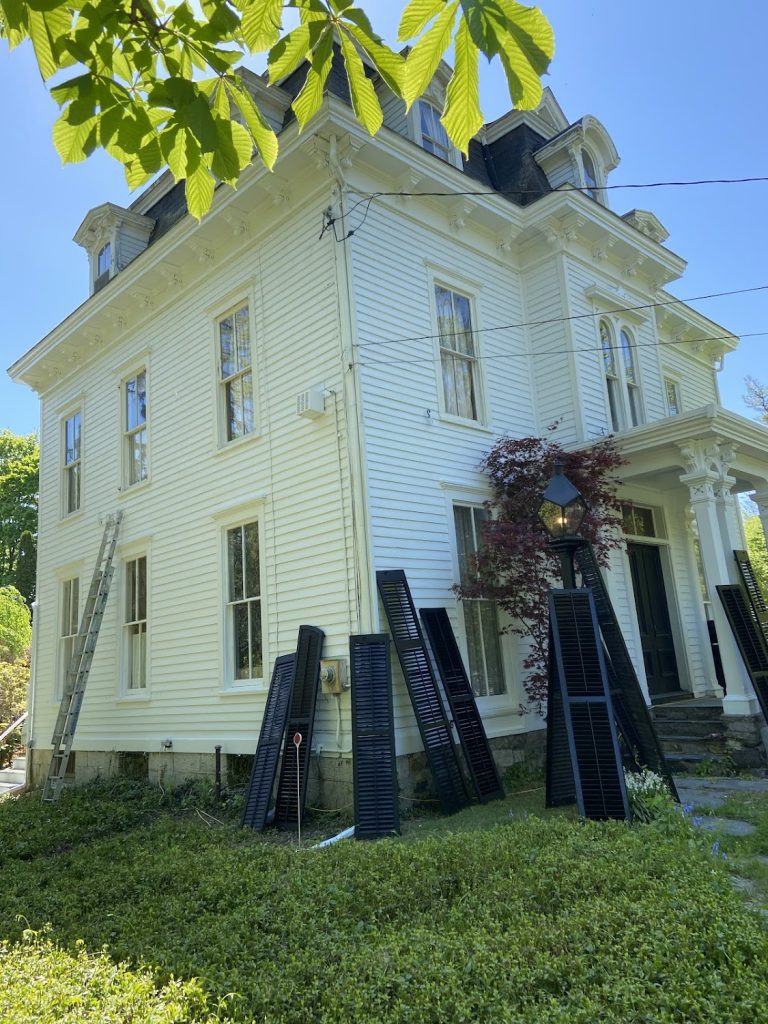
Before painting begins in Wilton, CT, furniture should be removed or covered. Floors, trims, fixtures, and electrical outlets must be protected with drop cloths and plastic sheeting. This prevents damage and allows painters to work efficiently without interruptions.
Step 2: Clean Interior Walls Before Painting
Cleaning walls is essential for proper paint adhesion. Dust, grease, smoke residue, and moisture buildup can cause paint to peel or bubble.
For most rooms, walls should be washed using warm water and mild detergent. Kitchens and bathrooms often require stronger degreasers or sugar soap to remove oil and soap residue. After cleaning, walls must be rinsed with clean water and allowed to dry completely before repairs or priming begins.

Step 3: Repair Holes, Cracks, and Surface Imperfections
Professional interior painting always includes surface repair. Nail holes, dents, and cracks should be filled using spackling compound or filler. Larger cracks may require joint compound and mesh tape for durability.
Once repairs dry, surfaces are sanded and feathered to blend seamlessly with the wall. Any loose or flaking paint must be scraped off to prevent future peeling.
Step 4: Sanding and Final Surface Preparation
Light sanding creates a smooth surface and improves paint adhesion. This step also removes glossy residue that can prevent paint from bonding. After sanding, walls should be wiped clean or vacuumed to remove dust.
Painter’s tape is then applied along trim, ceilings, doors, and windows to create clean, sharp paint lines.
Choosing the Right Interior Paint, Finish, and Tools
Selecting the correct paint and tools directly affects durability and appearance. Water-based latex paint is commonly used for interior walls due to low odor, fast drying time, and easy cleanup.
Paint finishes matter:
- Flat or matte: Ideal for ceilings and places with little traffic
- Satin or eggshell: Perfect for bedrooms and living rooms
- Semi-gloss: Best for kitchens, bathrooms, hallways, and trim
High-quality rollers and brushes ensure even coverage and reduce streaks. Professionals typically use a 3/8-inch roller nap for smooth walls and thicker naps for textured surfaces.
Why Priming Is Critical for Interior Painting
Primer is essential for long-lasting results and should never be skipped on:
- New drywall
- Dark or bold colors
- Stained or patched areas
Primer seals surfaces, blocks stains, and allows paint to adhere evenly. In most cases, one coat of high-quality primer is sufficient before applying the final paint coats.
Professional Techniques for Applying Interior Paint
Correct Painting Order
Professionals follow a specific order to avoid rework:
- Ceilings
- Walls
- Trim and doors
This sequence prevents drips and overlapping marks.
Rolling and Brushing Techniques
Edges and corners are cut first using a high-quality angled brush. Walls are then painted using a roller in a “W” pattern to distribute paint evenly. Maintaining a wet edge prevents lap marks and uneven texture.
Most interior walls require two coats of paint. Each coat should dry for 2–4 hours, depending on manufacturer guidelines and environmental conditions.

Ideal Conditions for Interior Painting
Environmental factors significantly impact paint performance. For best results:
- Temperature: 50°F–85°F
- Humidity: 40%–60%
- Proper ventilation without strong drafts
High humidity slows drying and can cause bubbling or streaking, while poor ventilation affects curing and finish durability.
Final Coat and Long-Term Durability
The final coat provides color depth and protection. Before applying it, walls must be clean and dust-free. Once dry, the painter’s tape should be removed carefully to avoid peeling.
A professionally applied interior paint job typically lasts 7–10 years, depending on traffic, moisture exposure, and maintenance.
Common Interior Painting Mistakes and How to Avoid Them
Skipping preparation leads to peeling and uneven finishes. Painting over dirty walls causes adhesion failure. Applying paint too thickly results in drips and extended drying times. Ignoring humidity and temperature guidelines can shorten paint lifespan.
Professional painters avoid these issues by following structured preparation and controlled application methods.
Cleaning Up and Maintaining Painted Walls
After painting, brushes and rollers should be cleaned thoroughly and stored properly. Leftover paint should be sealed and kept for touch-ups.
To maintain painted walls, dust regularly and clean gently using a damp cloth and mild detergent. Avoid abrasive cleaners or aggressive scrubbing, as they damage the finish.
Conclusion
Interior painting delivers the best results when every step is executed correctly, from surface preparation and priming to professional application and final detailing. Attention to detail, proper techniques, and environmental control determine whether paint lasts years or fails prematurely.
At Carlos Suscal Painting LLC, we deliver professional interior painting services designed for durability, beauty, and long-term value. Contact us today to schedule a consultation and experience expert craftsmanship from start to finish.
FAQs
1: How long does interior paint last?
A professional interior paint job typically lasts 7–10 years, depending on traffic, moisture, and maintenance.
2: What causes interior paint to peel?
Peeling is caused by poor surface preparation, moisture issues, skipping primer, or painting over dirty walls.
3: Is professional interior painting worth it?
Yes. Professional painters ensure proper preparation, correct application, and long-lasting results, thereby reducing the need for costly repainting.
4: Do you need to prime before painting?
Yes. Priming improves adhesion and color accuracy, especially on new drywall or dark colors.
5: What paint is best for high-traffic areas?
Satin and semi-gloss finishes are best because they resist moisture and are easy to clean.